Showing posts with label Dress it Up. Show all posts

Tuesday, October 8, 2019

Magical Wee Books By Kim


Good morning and happy October! I have some fun and magical wee books to share with you today, using some amazing products from White Rose Crafts.


I started off using some black cardstock from my stash and created my own wee little book using a chipboard base. I glued the chipboard to the cardstock on both sides and this formed the base of the books.


I used the American Crafts "Haunted Hollow" paper for the top of the books. This paper had different book covers on it, so it was perfect for this project.  I also used some Frayed Burlap Distress Ink to each of the books to make them look old and grungy.


I also used the Dress it up Halloween set, and used three of the little embellishments to decorate the covers of the tiny books.


I used old book pages inside the books to make them feel authentic and sewed in the signatures to each of the books. So, now they are real tiny books that can be open and read!


I added some of the ScrapBerry Witch Hat charms to the spines of each of the books so everyone knows just who they belong to!


I decided the books were not spooky enough so I added some "cobwebs" made with hot glue to each of the books, now they look old and like they have been sitting on someone's shelf for a very long time.


The finishing touch was some Imagine Crafts Sheer Shimmer Spray, this gave my books the magical sparkle they needed.


I hope you have enjoyed my wee magical books today, thanks for stopping by!
You can find more on my blog here-


Tuesday, May 7, 2019

Shabby Chic Wall Key By Kim


Good morning friends, Kim here with my next DT project for White Rose Crafts.
This time I have done a home decor item! I got this heavy chipboard key from a local box store, and I thought it would be perfect to alter with lots of amazing items from the WRC Store.


The first step is to paint the sides and any areas that will show with some paint. I used a multi surface paint for this and it did the trick nicely. I also took the key and traced around it on some of the gorgeous Lemoncraft Yesterday paper.  Once the paint was dry, I used Mod Podge to stick down the paper.


While the key was drying, it was time to get out my embellishments and alter them to go on the key.
I used some fun chipboard pieces from the WRC store, and also the metal heart and flower are from the shop also.  I added some of the same paint I used on the key to the pieces and then added a touch of pink paint as well to pick up on the colours in the paper.


Once everything was dry, it was time to layer on my pieces.  I got out some Recollections flowers and used one of the Melissa Frances resin keys in the middle of the chipboard heart with wings. 
You can also see some of the Altair Art butterflies and one of the pieces from the Dress It up Glitter Beach Button Set in the photo. 


On the end of the key, I added some more flowers and the metal flower, along with a bit of the chicken wire chipboard, and a little butterfly to finish it off.  


Of course everything got a lovely coat of Dovecraft glitter glue in Crystal, it makes everything sparkle!  The final touch was some of the Distress Oxide Spray in Picked Raspberry to make the pink stand out on the paper and flowers, it added just the right mixed media touch.


It turned out so pretty, I am going to hang it up in my bedroom!


I hope you have enjoyed my project today and have found some inspiration here.
Thanks for stopping by!

Tuesday, February 5, 2019

"Sweet Friend" Card-Sketch Challenge by Kim


Good morning Rosies! Kim here with my next DT project for White Rose Crafts. I am working with this months sketch challenge, and decided to create a sweet and shabby card for a friend.


I hope you will join in the Sketch challenge too, I loved working with the sketch this month!

I used lots of wonderful items from the White Rose Crafts store this month, including the gorgeous Recollections Pink flower you see in the photo below.


 I also used the K & Company epoxy sentiments to add to my card, they are so simple and easy to use!


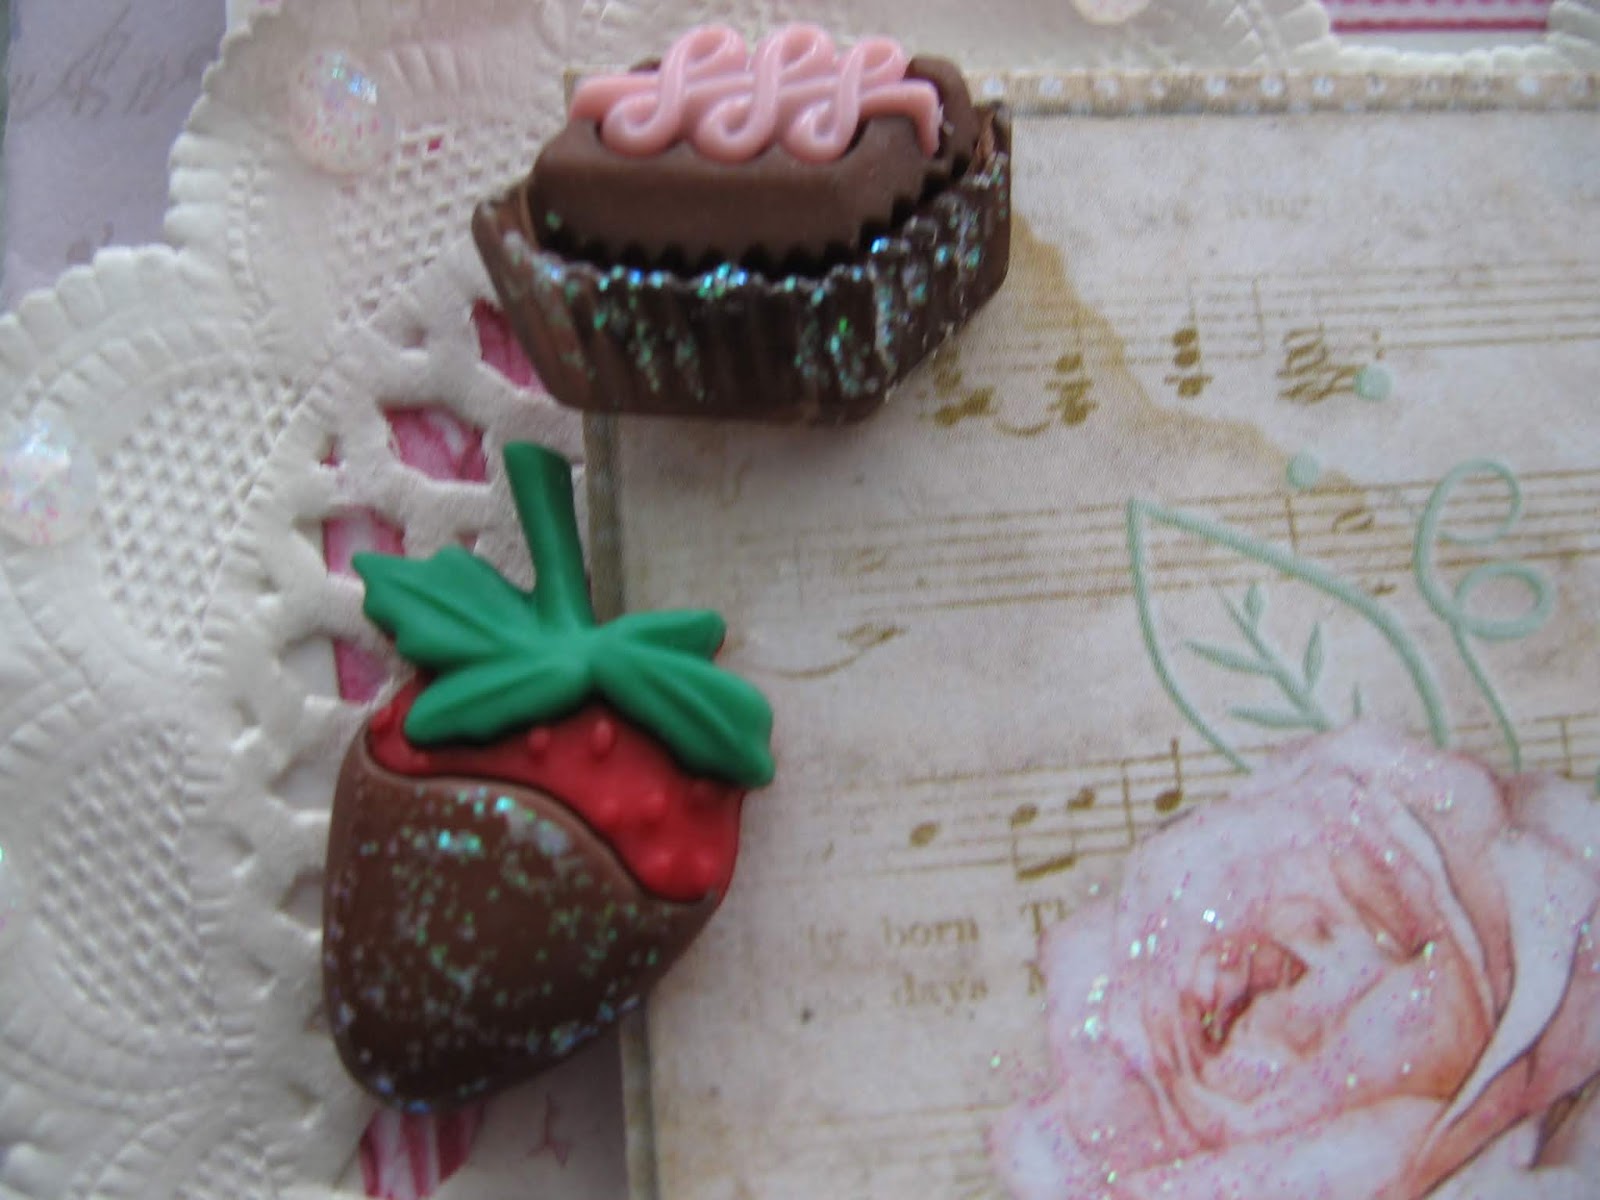
A couple of Dress it Up buttons called "Decadence" added some sweet accents to my card.


I really love the Lemoncraft Yesterday Ephemera, and I used this one for the main focal point on the front of the card.


The final touch was some of the Dovecraft glitter glue in Crystal to give my card lots of sparkle!

Please check out the sketch challenge on the WRC blog and join in the fun!
Thanks for stopping by today, I hope you have found some inspiration here!


For further info about me, please check out my blog