Wednesday, April 27, 2022

No Line Watercoloring


Hi everyone! I'm Linh (@LVHandcrafted) and today I have a new video on my YouTube Channel. I tried my hand at some no-line watercoloring and I think it turned out well!  What do you think?  I used watercolor pencils, which I think makes it really easy to get color exactly where I want it. I don't think I could have done this with my gauche paints. 


If you like my tutorials, consider subscribing to my YouTube channel.


-----------  PRODUCTS FEATURED IN THIS VIDEO  --------------

| ** Mother's Day - https://bit.ly/36EkWZG | ** Argyle Embossing Folder - https://bit.ly/3uDhV3P

** DISCLAIMER: Some products were provided to me for free to create & share inspiration. Everything else I purchased. All designs and opinions are my own and in no way influenced by the provider of the products.


Tuesday, April 26, 2022

Mini Album Part 1 - Using the Garden Tea Party Cardmaking & Crafting Kit

  Hello, friends!

It's Nancy back with you today, sharing Part 1 of my Mini Album.
This album was created with the Garden Tea Party Cardmaking & Craft Kit.

Last week I shared with you my album base made from file folders.
I also shared some of the bits and pieces that I made to put into my album.

Today I will begin sharing my finished album.

Here is the front cover:


Isn't that pretty?
I used the 6 x 6 papers for all my pages.
I used a paper distressing tool on all the edges of the paper.
I love to do with with papers from Pion Design because they fluff up so nicely.
Everything shown is from the kit:
the butterflies, flowers, pearls, stamp, resin cupcake, and ribbon bow.


Do you see all those sparkly bits?
I used the Nuvo Crystal Drops from the kit to gloss up various bits on every page.


Since the Nuvo Crystal Drops are called "Morning Dew",
I decided to add a little dew drop to each of the flowers.
I used some wax from my stash to shine up the resin piece.
The "love is sweet" sentiment is from the stamp set included in the kit.


The back cover is another one of the 6 x 6 papers.
For the spine, I cut down one of the bookmarks.
It ties the front and back cover together beautifully!


 Here's a look at all the inside pages.
Next week we'll take a closer look at the inside pages.

In case you missed it last time, here's a look at the full kit:

There are just so many creative options with a great kit like this!
The possibilities are endless! 

* * * * *

White Rose Crafts Products Used:


* * * * *

Thanks so much for stopping by!
See you again next week!

* * * * *

 Nancy :o)
The Nickel Nook

Going Places

 Good morning!
I'm back to share a mixed media layout I created of our youngest son and one of his bikes!


I started by prepping the Craft O'Clock Age Of Technology paper with clear gesso


I then used texture paste mixed with Lindy's magicals powder (red hot poker orange) and the AALL & Create Spatter Stencil I then highlighted with Prima Wax


I fussy cut the tags from the paper and added them to the clusters of  Creative Embellishments Chipboard, prills, colored art stones.

Thanks for stopping by
~Laura

Monday, April 25, 2022

Baby Scrapbook Layout - KaiserCraft & Asuka Studio


Welcome Back! I'm sharing another layout for Gabriel's Scrapbook. As I mentioned last blog post there are a few layouts that I made 17 years ago that need to be updated. His 2 week layout was so poorly made initially and I just needed to update it.

For this layout I combined KaiserCraft & Asuka Studio paper and embellishment. Some stenciling, inking, and clusters t make it all come together. Most of the goodies used today can be found on the White Rose Crafts Store.

Here is the layout I completed:

Stencil Work:

I also did some stenciling with the Lotza Dotz stencil from AALL & Create #39. I used Bronze embossing paste. I also Used Tim Holtz Distress Ink. I also incorporated old embellishments into the new layout.

Close-Ups:

Items Used:

Layout that I initially made that needed to be updated:

1st page:

I hope I have inspired you just a bit, please share your creations with us at  White Rose Crafts Gallery. 

Thank you so much for stopping by!

Ready to Shop: White Rose Crafts Store

Tuesday, April 19, 2022

Sneak Peek of My Mini Album Using the May Kit

Happy Tuesday, friends!

It's Nancy back with a new project share.

Today I'm sharing the beginnings of a project
using a new kit that is soon to be released in the shop. 

 These kits are always fabulous and sell out very fast.

I was inspired to make a mini album with the kit.
I will introduce you to the kit, and show you how I start a project like this.
Then next week I will share Part 1 of my finished mini album.

Here is an overview of the entire kit:

So. Much. Fun.

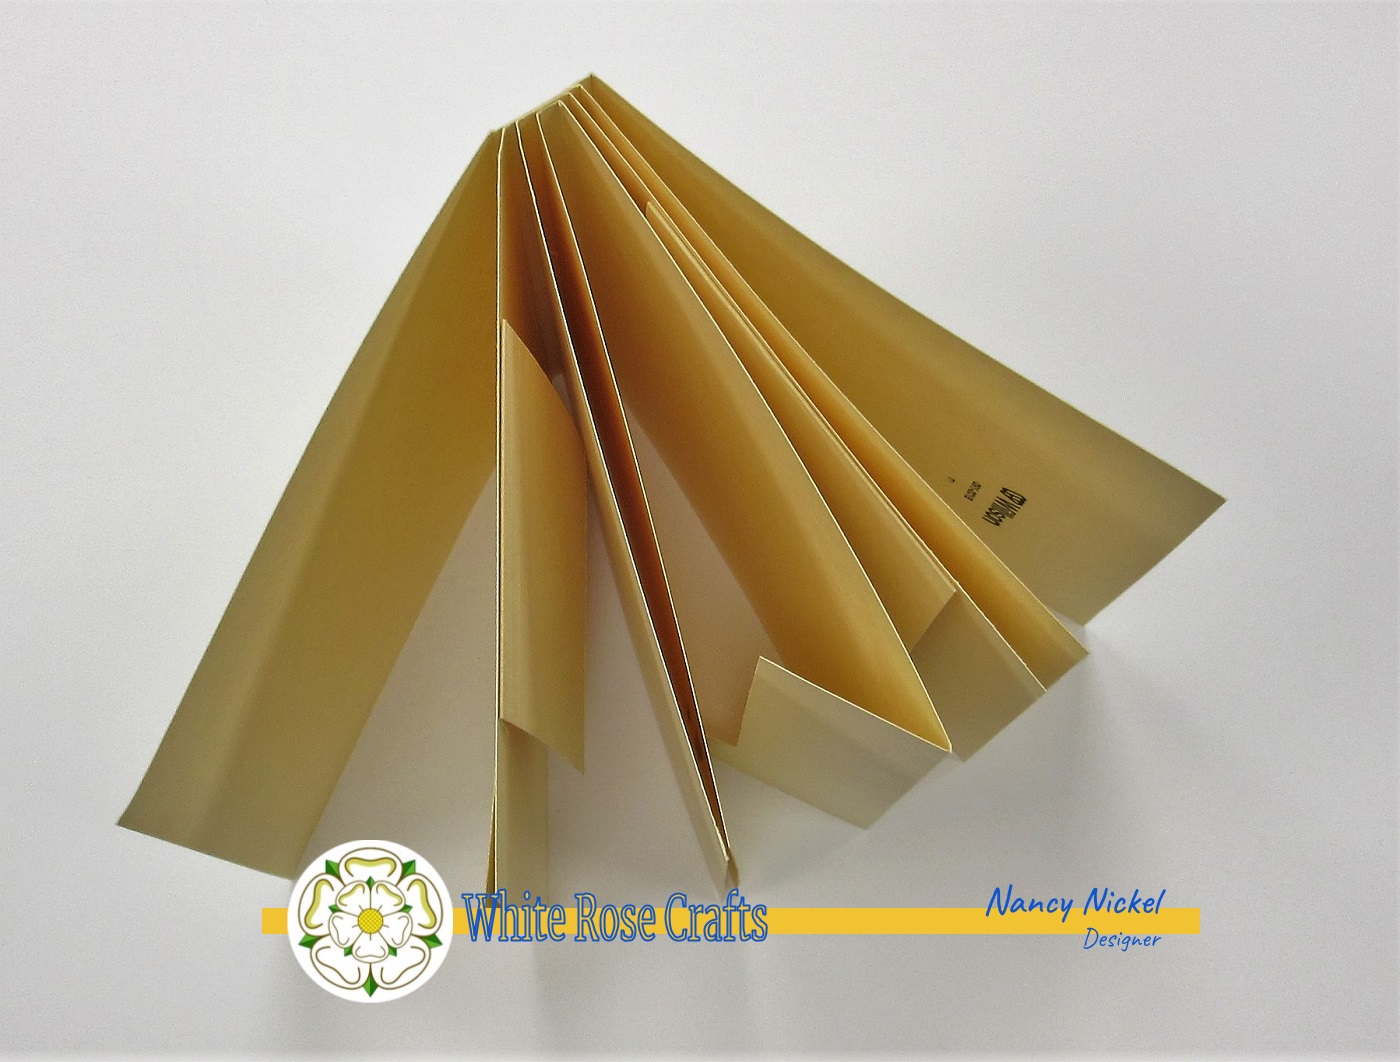
The first thing I needed to do was decide on my album base. 
 I'm still in the midst of unpacking my craft stash.
When I came across these file folders I knew just what I would do.

I cut them down like this:


I then layered, folded, and glued them into this:


From this top view you can see several folds and flaps.
They always make for a great interactive album.


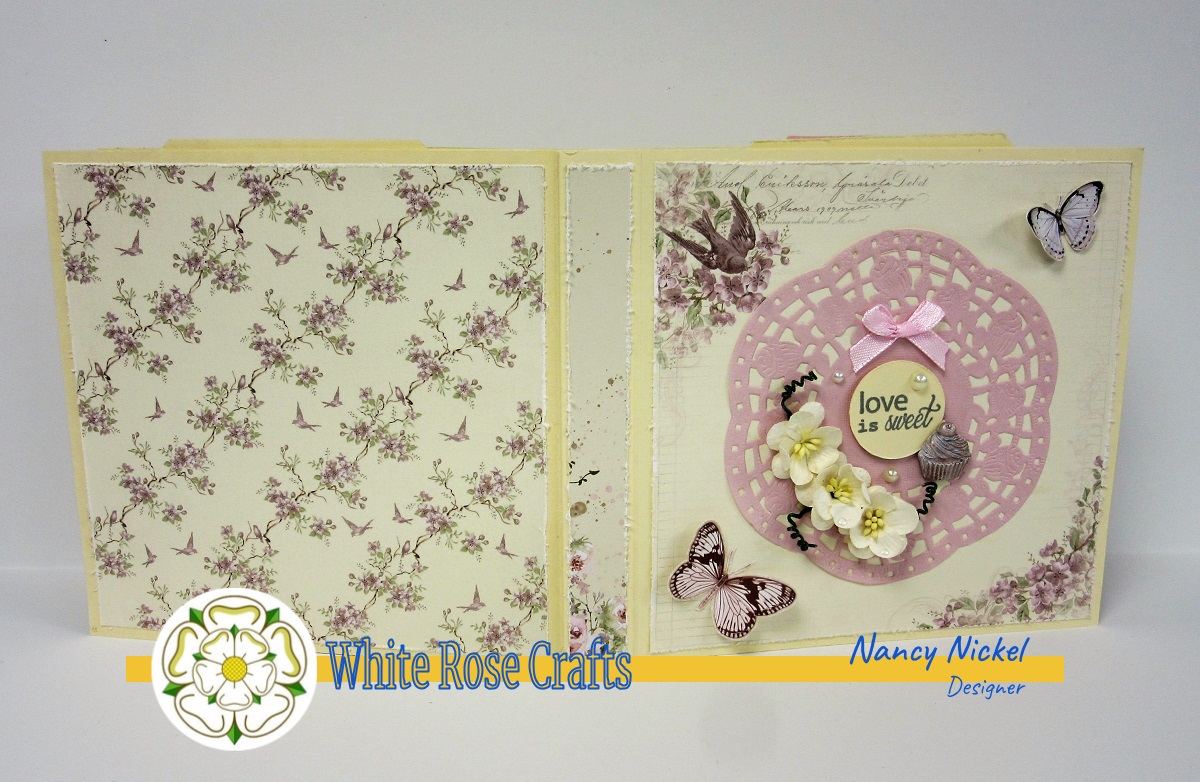
Next, I went through the gorgeous papers and cut them out.
I decided how I would pair the pages and stacked them up.
I also chose some of the pretty butterflies that would need to be fussy cut.


From the leftover file folders, I cut multiple tags in several sizes,
as well as a couple of belly bands.
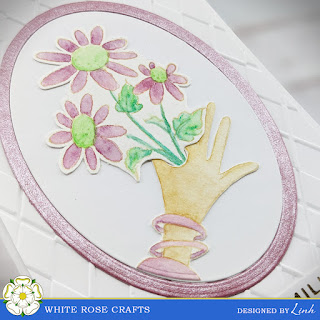
I then used the lovely stamp set, along with ink from my stash,
to stamp images onto file folder scraps.

I cut one of the doilies in half and adhered each half onto more of the file folder.
I then trimmed around the doily half.
These will be tuck spots in my album.

Finally, I made two small envelopes out of the mulberry paper pieces.
 I tucked a piece of pink cardstock into the cream coloured envelope,
and a piece of file folder into the pink envelope.

Come back next week to see how it all came together!

Also, keep your eye on the shop.
This kit will be available for pre-sale starting April 25th.

* * * * *

Together Forever

 Good morning!
I adore the photos that capture the love of my husband and I.


I began by prepping the 13 @rts paper with clear gesso


I used the AALL & Create stencil mixed texture paste with colorant powders then dry brushed the image.  I cut the title out of the paper


I also cut out the flower images and layered them to add visual interest.  I also added some pearls.


Thanks for stopping by

Laura

Wednesday, April 13, 2022

Art Journaling with Paper Napkin Background


Hi everyone! I'm Linh (@LVHandcrafted) and today I have a new video on my YouTube Channel. I've been inspired by our talented Design Team to start art journaling. I'm still getting my feet wet and I used a paper napkin as the foundation for my background. A bit of stamping and stenciling and I have a quick background!


If you like my tutorials, consider subscribing to my YouTube channel.


-----------  PRODUCTS FEATURED IN THIS VIDEO  --------------

  ** Messy - https://bit.ly/3DmFzFM

  ** Lotza Diamondz Stencil - https://bit.ly/3Nwt2Ev

  ** Gold Expanding Mousse - https://bit.ly/3DVhOVu 


** DISCLAIMER: Some products were provided to me for free to create & share inspiration. Everything else I purchased. All designs and opinions are my own and in no way influenced by the provider of the products.


Tuesday, April 12, 2022

Life's a Beach

 Good morning!
I seem to create a lot of beach layouts....I think that is because it is one of my favorite places to be!


I prepped the background of my beautiful 13 @rts paper -on the map and around the globe with clear gesso 


I then used my favorite AALL & Create stencil with texture paste


 I created the clusters using chipboard, flowers and stones from my stash


Thanks for stopping by

Laura


Coffee Card by Nancy


 Happy Tuesday, friends!

It's Nancy back with a new project share!

It's just a fun and simple card
but one I'm sure many of you can relate to! ;o)

Here's my card:


Isn't that fun?
That sentiment is just spot on! lol 
The brick background paper was chosen for a reason too!
You know...something about hitting your head against a brick wall.
It somehow seemed very appropriate.


Don't be fooled by the teacup either.
That is definitely a double shot of espresso!


I know that some of you are nodding at this card,
and can totally relate to it!

I can think of many friends that would appreciate receiving this one,
and I bet you can too! 

* * * * *

White Rose Crafts Products Used:

Background Paper: 13@rts Pastel Spring 6 x 6 Paper Pad;


* * * * *

Thanks so much for stopping by!
Please come back next week to see another fun project for
White Rose Crafts LLC.

 Nancy from The Nickel Nook

Saturday, April 9, 2022

Baby Layout - Asuka Studio & Kaisercraft


Welcome Back! I'm sharing another layout for Gabriel's Scrapbook. There are a few layouts that I made 17 years ago that need to be updated. His 2 week layout was so poorly made initially and I just needed to update it.

For this layout I combined KaiserCraft & Asuka Studio paper and embellishment. Some stenciling, inking, and clusters t make it all come together. Most pf the goodies used today can be found on the White Rose Crafts Store.

Here is the layout I completed:

Stencil Work:

I also did some stenciling with the Lotza Dotz stencil from AALL & Create #39. I used Bronze embossing paste. I also Used Tim Holtz Distress Ink. I also incorporated old embellishments into the new layout.

Close-Ups:

Items Used:

Layout that I initially made that needed to be updated:

I hope I have inspired you just a bit, please share your creations with us at  White Rose Crafts Gallery. 

Thank you so much for stopping by!