White Rose Crafts LLC is a Virginia based, online craft shop. On the blog, you will find Design Team projects, announcements, exclusive deals, new product releases & shop related news.
Hey Rosies! It is EK popping in today, and I sort of have a two for one video for you. Originally, the video was suppose to be nothing but an Unboxing Video sharing a few of the new projects I had sent to me from White Rose Crafts.
However, I apparently could not help myself when I got my hands on a new stencil and just had to start playing and end up creating four little mixed media pieces.
So sit back, relax and enjoy seeing what I picked up and how I played around with these new products.
If you want to watch my latest video in HD, click here.
For a closer look at the mixed media panels, scroll down.
Thanks for peeking in at my unboxing today. Let me know in the comments below which mixed media panel of experimentation was your favorite. Until then, Happy crafting.
Hey Friends! It's EK from ekgorman designs and today I am popping into share the first part in my three part series where I create Five Fast Cards using White Rose Crafts May "Barista Blend" Five Fast Cards.
Not only did I blend up five cards using this fun coffee filled paper crafting kit, but I whipped up a splash of a bonus card. What to see the bonus card, well I am only sharing it on my video so you will just have to watch to see!
To watch today's collection of cards this card in HD click here:
For more details on the first five cards, scroll down.
Card One
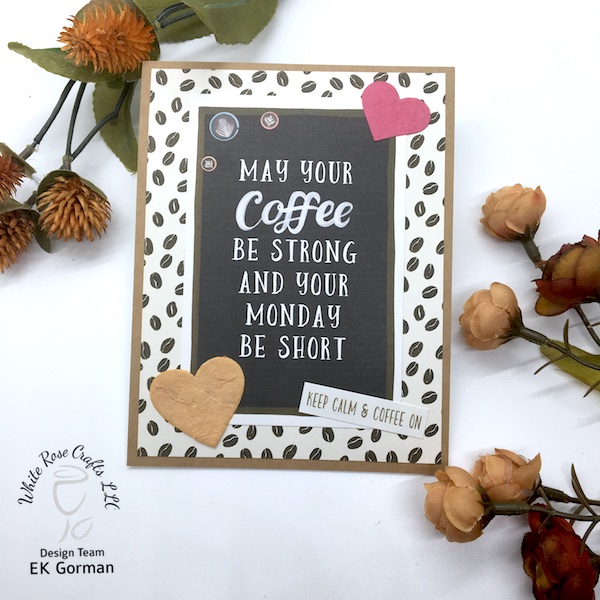
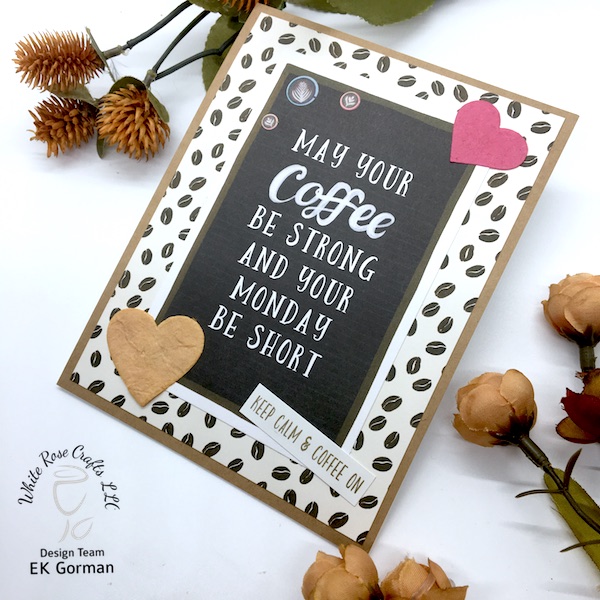
My first card features one of the printed papers from the kit, a piece of ephemera, two mulberry paper hearts, and four of the stickers.
Card Two
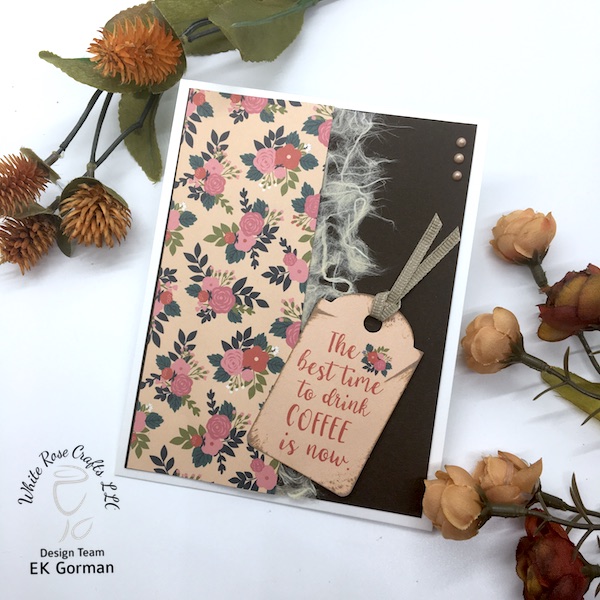
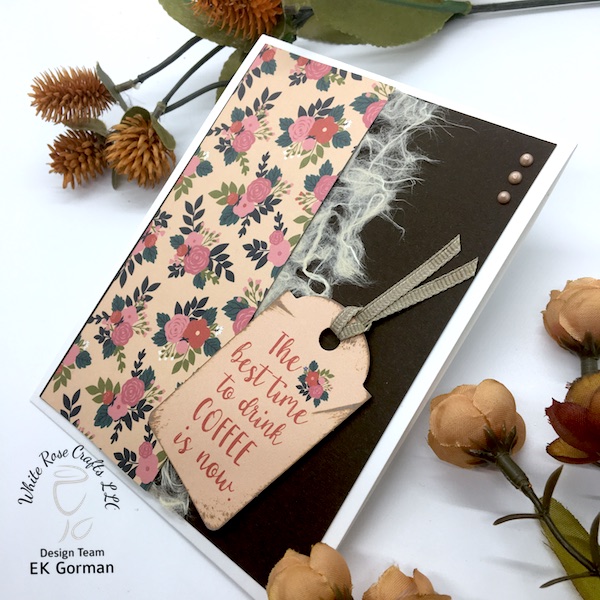
The second card in the series included some of the textured brown cardstock, some lace mulberry paper, some printed paper, a piece of tag ephemera and some of the nuvo drops included in the kit.
Card Three
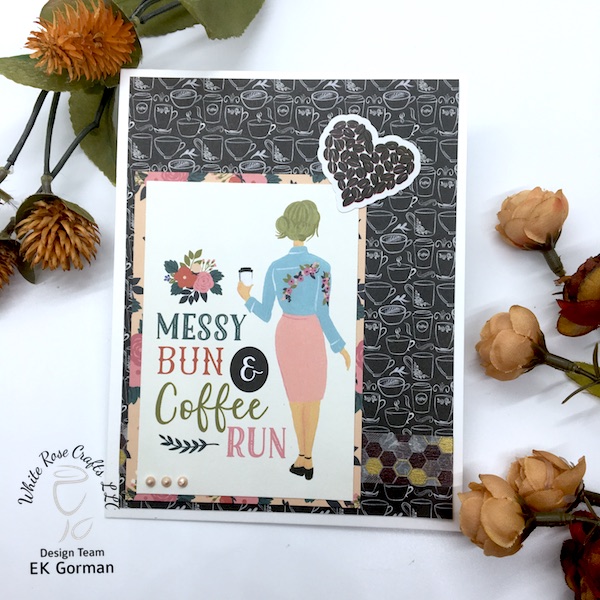
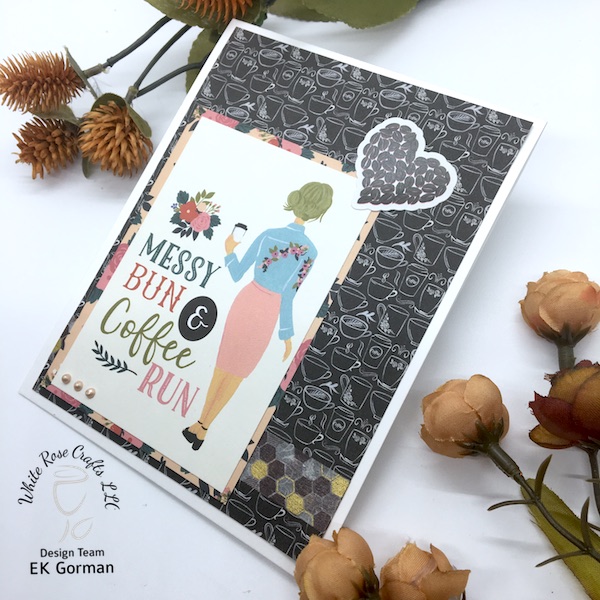
My third card is super simple and includes two pieces of printed paper, some washi tape, a piece of ephemera, a coffee heart sticker and some nuvo drops.
Card Four
My fourth card, which is secretly my favorite, features stamping from the included stamp set, a piece of printed paper, and one of the coffee themed paperclips.
Card Five
My fifth, but not final card, features the front and back of one of the printed papers and stamping from the included stamp set.
To see the bonus card that I crafted using one of the included card frames from the kit, some stamping, a sticker and a piece of ephemera, make sure you watch my video over on the Youtube!
Let me know in the comments below, what your favorite card from this collection of Five Fast Cards is. Until then, Happy Crafting.
Greetings! It's Alison Heikkila. This week, the White Rose Crafts team is sharing projects using the May Subscription Kit called "Barista Blend." This is for all of you coffee lovers out there! There is a cute stamp set from Little Acres, fantastic papers from Echo Park, and exclusive Sparkle Blend from Doodles Paper Playground, and plenty more. The kit is currently available on pre-order, so if you want it, grab it while you can!
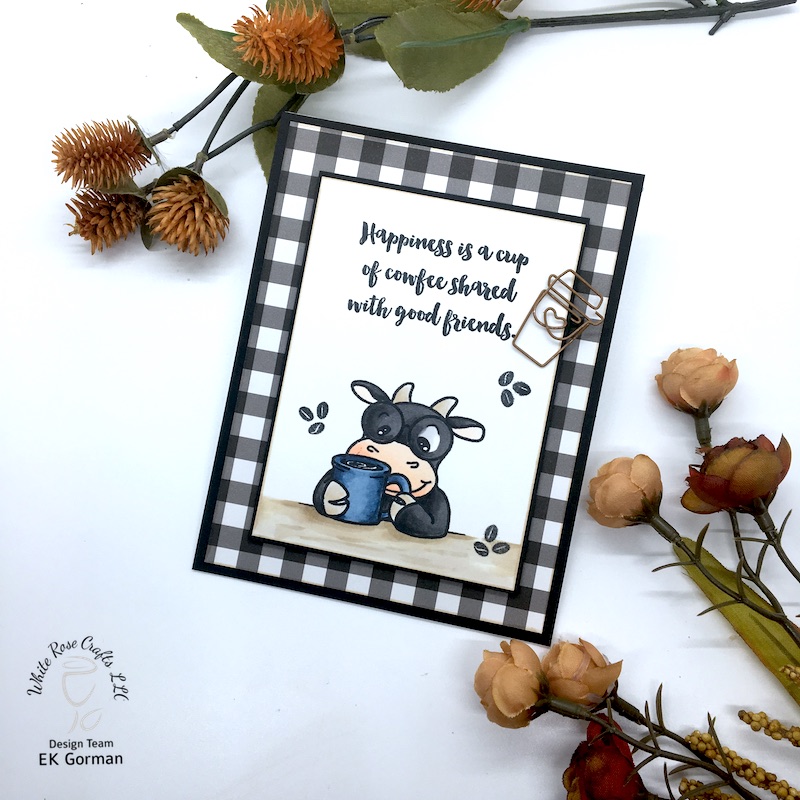
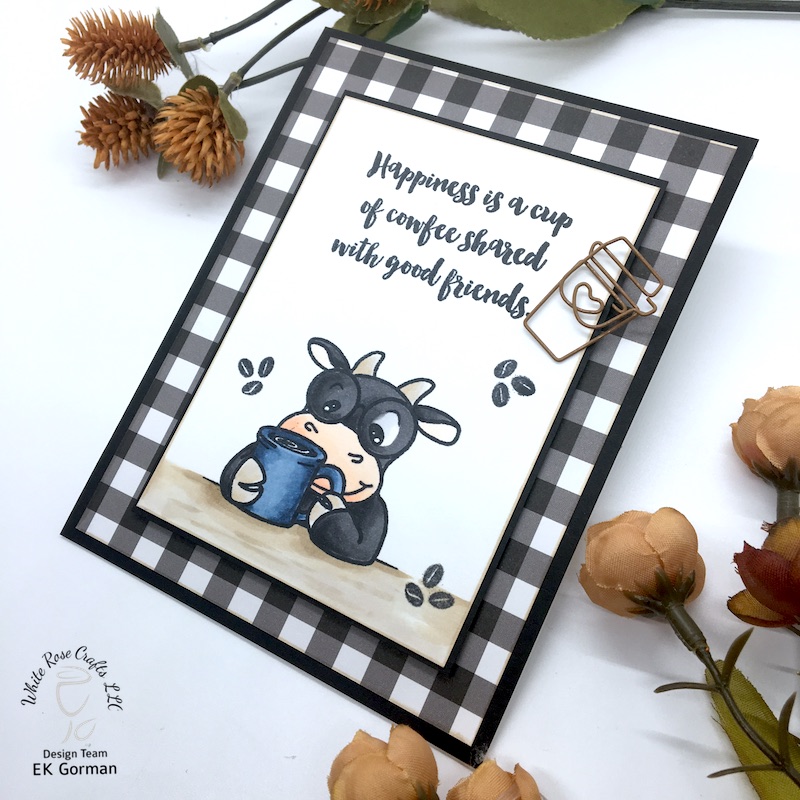
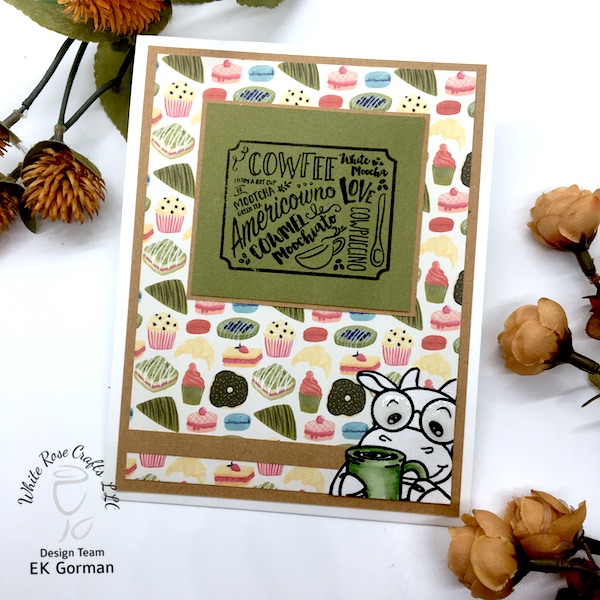
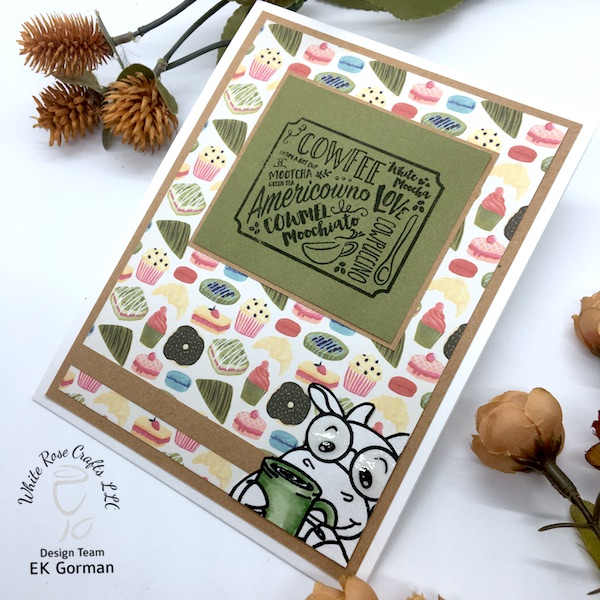
This cow is happily about to start a cup of "cowfee" and would like you to join her! I colored her with my Zig Clean Color Markers, and I added Nuvo Drops in Sea Breeze to her spectacles to make them look glassy. I inked the edges of the stamped panel with Tumbled Glass Distress Oxide.
I used a couple of pieces of patterned paper from the Echo Park "Coffee" collection to mat my image, and I backed it all with a cream card base from my own stash, which I inked with Vintage Photo Distress Oxide. I also added a few sequins from the older "But First, Coffee" Sparkle Blend. I do not have the Blend that comes in the Subscription Kit, but this was a perfect substitute. All the sequins was adhered with On Point Glue from Imagine.
My favorite thing about this kit is the paper from Echo Park. It has so many great colors, and wonderful patterns that go beyond the coffee theme. So don't think you can only use it for that! There are some really beautiful florals and more abstract patterns that I really love.
Please be sure to head over to the White Rose Crafts LLC Shop to snag your Subscription Box before it sells out. Thanks so much for stopping by. Have an inspiring day!
Hello Rosies, Amber here taking over the blog today! Its been a blustery, cold few winter days here in Vermont, so its a perfect time to sit down and color! Since I'm a card maker and sending snail mail is kind-of my jam, I've been wanting to create some fun Dramatic Play props for the Post Office play area in my son, David's, Pre-K classroom.
I decided to make a trio of fun postcards that the kids could pretend to send to each other, as well as a couple of traditional folded cards in heavy weight cardstock envelopes, for my White Rose Crafts design team project this week. I also put together some DIY art projects for the class to do, too, that I'll share at the end of the post.
I started with 5 panels of 110# white cardstock and a selection of stamp sets from White Rose Crafts.
I picked Hot Cocoa Hugs from Your Next Stampfor the first of the folded cards, and did some simple Copic coloring. I don't know about you, but I often forget that my coloring doesn't have to be super intricate or take a long time to be beautiful. This time, I decided to just do simple shading on the hot cocoa itself, leaving the mice more simple. I drew a gingham table cloth beneath the image and added the "Hot cocoa hugs" sentiment with Nocturne ink by Versafine Clair. I grabbed a scrap of patterned cardstock from my scraps box and trimmed it to 4 1/8 x 5 3/8 inches, before adhering it to the center of a top folding, landscape, A2 white card base. I cut my colored panel down to 3 3/4 x 5 inches and popped it up on Woodware 1mm foam mounting tape, for a touch of dimension.
For the second folded card, I wanted some mail related imagery, so I knew I had to include Bella With Flowers From Wild Rose Studio. I again went with some simple Copic coloring, concentrating the shading on Bella herself and her oversized letter. Since this was a single stamp that doesn't come with a sentiment, I decided to mix and match a bit, grabbing this big, bold script sentiment by Dovecraft, called If Friends Were Flowers and stamped it first with Versafine Clair Charming Pink ink, then offset the stamp a bit before stamping again in Nocturne. I love that this technique gives the sentiment a pretty, colored shadow.
For my first postcard, I chose all of the ice skating images from Good Glidings, Fleece Navidad, & Holiday Mice, from Your Next Stamp and stamped them on the lower third of one of my white panels using Memento Tuxedo Black ink. I used a black pen to draw a basic pond shape and snowy hill in the back ground & stamped that cute, stacked "Warm Winter Wishes" sentiment from Fleece Navidad, using Versafine ClairParadise ink. Since I wanted this to be a postcard, I knew I didn't want the color to bleed through to the back, so I decided to pull out my Prismacolor pencils (not sold at WRC) for this scene, as well as the other two Postcards.
Next, I pulled out one of my new favorite stamp sets, Piles of Smiles by Little Acres Creations(a product line exclusive to White Rose Crafts), because its images of woodland critters working together to mail a letter are too perfect not to use for this set of projects! I really didn't want to do any difficult masking today, so I stamped the images far enough apart that I only needed to mask the letter itself. That was easy peasy because its just a rounded rectangle. I used my T square ruler to draw a horizon line. I performed some simple stamp surgery so I could stack "Sending you piles of smiles" and stamped that sentiment, as well as "Great friends lift you up" in Versafine Clair Nocturne ink before, again, coloring my scene with Prismacolor pencils.
For the final postcard, I used an older Stampendous set called Snowman Flurry, which is now sold out, but you can get a similar look by using Winter Penguins, also colored with Prismacolor pencils. The cute and punny, 2 part sentiment is stamped in Distress Oxide Salty Ocean.
I used an old, retired My Creative Time stamp set from my stash to build the back of all three of my postcards, adding that adorable little Mama Elephant Snowman Agenda image (not sold at WRC) as the postage stamp. I wrote a cute message on each one and addressed them to David's class, before putting them through my Xyron Laminator to protect them from little hands.
As a bonus, I also decided to pull out the Heffy DoodleWarm Hugs stamp set and stamp enough blank post cards for David's classmates to color, take home and mail out with their families, and die cut large, stitched postage stamp edged rectangles, using a die from my stash, out of the same 110# white cardstock for the kids to draw their own stamps as a classroom art project (not pictured).
Gotta get the next generation of cardmakers started early,
am I right?
~~~~~~~~~~~~~~~~
Thank you so much for visiting the blog today. I hope you found some inspiration in my projects today. I really had fun creating these. It was nice to not stress about the coloring (which I definitely do, sometimes) and just have some fun!
We thought we would highlight one of the newer brands, that we are carrying in the shop this week. Little Acres is a Colorado based company that takes a closer look at farm life and recreates it in stamps.
Make sure you tune in all week as the design team plays with this quirky cute collection of stamps. You won't want to miss a thing.