White Rose Crafts LLC is a Virginia based, online craft shop. On the blog, you will find Design Team projects, announcements, exclusive deals, new product releases & shop related news.
We are delighted to present the new, stunning "Sweet Violet" Limited Edition Cardmaking and Craft Kit from White Rose Crafts!
This carefully curated, handpicked kit draws together beautifully coordinated goodies from all over the world to inspire your art. And with a retail value of over $44, it's an absolute steal at $29.95.
Design Team member EK has video sharing the full unboxing of this beautiful kit, so make sure you check out all the beautiful supplies stuffed into this kit.
Make sure you head over to White Rose Crafts Store and pick up your limited edition Sweet Violet Kit before it is gone.
"Sweet Violet" Cardmaking and Craft Kit Contents:
18 6"x6" papers: "Violet Silence" collection from LemonCraft
"Violet Silence" collection ephemera sheet from LemonCraft ("Vintage Time")
ASPIRE Petallics Card Stock - 8 1/2 x 11, 98 lb Cover Metallic in Mountain Rose and Spearmint
Hey Friends! Did you see my unboxing of the new "My Guy" Cardmaking Kit from White Rose Crafts earlier this week. Well, I am popping in today to share the first part in my three part series where I show how you can use this fun fill crafting box.
The "My Guy" Cardmaking Kit is limited edition, so make sure you pop over and pick yours up before it is too late.
Well, it has been a real long time, but I am so excited to announce that White Rose Crafts is releasing a brand new Crafting Kit. WRC has not released a new kit since last March before the whole world shut down, which makes today's release even more exciting.
The new "My Guy" Cardmaking Kit is designed to help create cards, and frankly all male themed crafting projects easy peasy. This kit will help make the perfect card for your brother, father, husband, and son!
Want to see what's inside this fun filled kit, well just click below to watch the unboxing and get a first look of this craft filled box. Want to watch the video in HD, click here.
This is a limited edition kit, so make sure you pop over and pick your "My Guy" Cardmaking Kit up before they are gone! Until then, Happy Crafting.
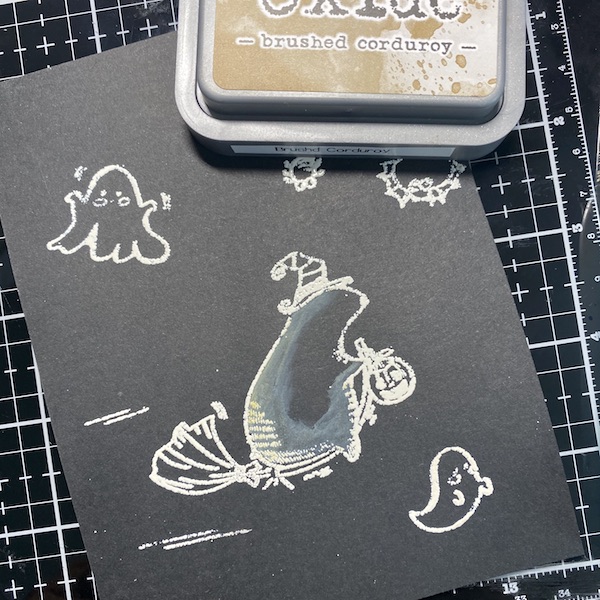
Hey Everyone. It's EK and today I thought I would try something a little different today while creating a halloween card. While this is not a new technique, it is not one I often play around with. Today I thought I would try embossing some halloween stamps onto black cardstock and then use ink to add color. I pulled out some Waffle Flower stamps and Spellbound paper I picked up at White Rose Crafts for this card.
Step One: Trim a piece of black cardstock to 4.25x5.5 inches. Using the Boo stamp set and Ranger Super Fine White Embossing Powder, I stamped the images and embossed them.
Step Two: Using Brushed Corduroy Distress Oxide and a waterbrush, add shadowing to the bear 'witch'.
Step Four: Spray the entire card with Frost Sheer Shimmer spray.
Step Five: Adhere the black cardstock to a piece of 6x6 inch printed cardstock from the Spellbound Fancy Pants paper pack. Pull out a sheet of Lawn Fawn Sparkle Cardstock and trim four pieces to a quarter of an inch. Surround the black embossed cardstock with it. Trim off excess sparkle cardstock that hangs off.
Step Six: Stamp a sentiment onto some white cardstock. I used a sentiment from the Woodware Halloween Fun stamp set. I also used some Distress Pens in coordinating colors to help highlight the inks blended into the cardstock. Adhere the sentiment banner onto the card. Using some Nuvo Drops in Auburn Pearl Crystal Drops.
Do you try different techniques when making different holiday cards? Let me know in the comments below.
Sometimes all you need to make a great card is simply some great paper. In this day and age of crafting layering inks, stencils and stamps over each other is all the trend, but sometimes you just don't have the time to work a background. That's when you need to simply pull out a piece of great paper.
If you haven't seen the Polish line 13 Arts paper over at White Rose Crafts, then you are simply missing out. This collection of papers are truly gorgeous and one of my favorites, Aqua Flora, has recently been restocked and available once again for pick up.
I have paired these stunning papers with a couple of whimsical stamps from AALL & Create to show how you can take a really series and beautiful paper with a sketchy artistic stamp.
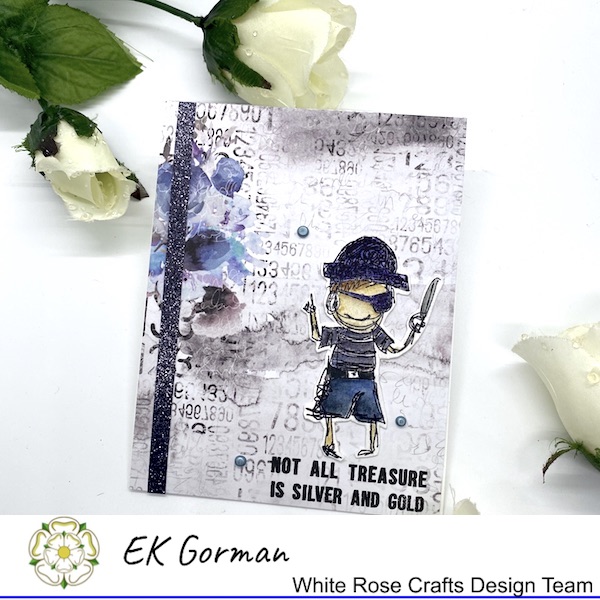
I trimmed a piece of Aqua Flora paper to 4.25x5.5 inches and adhered it to an A2 card frame. Look at how stunning this paper is. That is literally just the paper. I have added nothing to it.
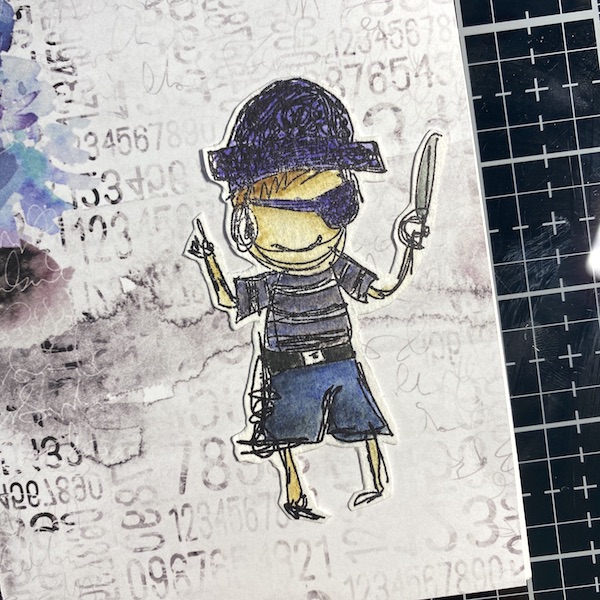
On a piece of watercolor paper, I then stamped out the AALL & Create Pirate stamp set using some VersaFine Ink. Using my Inktense pencils, I colored in the image trying to pull in the colors of the paper.
Using a water brush, I moved the ink around and let the image dry. Then I fussy cut out the image.
Adhere the fussy cut out image onto the Aqua Flora paper.
I added a strip of Lawn Fawn Sparkle Cardstock and stamped out the sentiment from the Pirate stamp set.
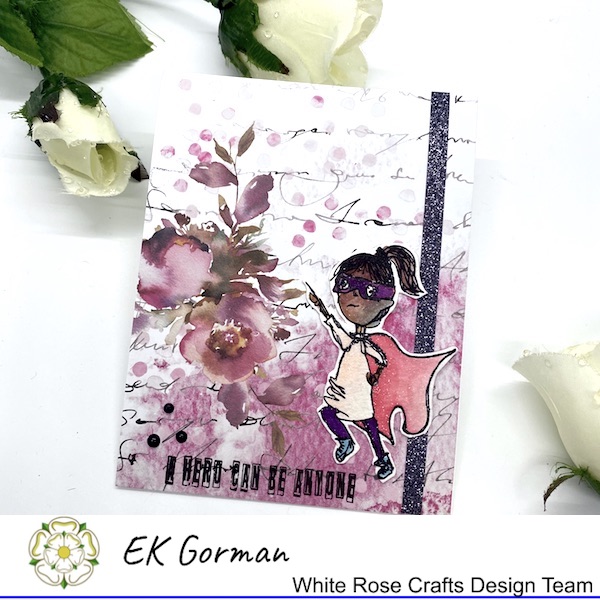
I was having so much fun that I create a second card using a more feminine palette of Aqua Flora paper. I trimmed the paper to 4.25x5.5 inches and adhered it to an A2 card frame. I also added another piece of Lawn Fawn Sparkle Cardstock to this card frame.
I stamped out this time the Super Girl stamp set from AALL & Create. I colored this image with Spectrum Noir Sparkle Glitter brush pens to color this image, trying to pull in colors from the card stock. I let it dry and fussy cut out the image.
I adhere the fussy cut image to the card and added a sentiment stamp from the Super Girl stamp set.
I hope you enjoyed seeing how simple it can be to make exquisite looking cards simply buy pulling the right gorgeous papers. The first time the Aqua Flora paper pack was in stock they sold out quick, so I imagine that this time around the paper set will be limited and quick selling too.
Let me know in the comments below which of today's cards are your favorite. Until then, Happy Crafting!
Good morning friends, Kim here with my next DT project for White Rose Crafts.
I was inspired by this months sketch challenge to make my blingy cards, here is what the sketch looks like.
I am using Graphic 45 Princess Collection for my card, its one of my favorite paper lines and I love the pink shabby colours. I tried to follow the sketch by using the little stamps that come in the paper line for the 4 squares on the top right, they worked out perfectly for that.
I used two different papers from the pack to give a layered effect, and because it is called Princess, I added a crown to the middle of the four squares, and then went all out and added bling to the card as well.