Saturday, April 20, 2019

3 Unique Cards with Altair Art "Signs of Love" Paper Pack by Amber MacMurtry

Amber here, taking over the WRC blog today. I'm a bit late to the party for Altair Art week over at White Rose Crafts due to an unexpected hospital admission for my son and a surprise date at the theater from my husband for my birthday, but I'm working on getting back on schedule, and really wanted to share these 3 cards I created with the beautiful Signs of Love paper pack. This is a great blend of basics and detailed floral images, which made it really fun to work with! I think my favorite part is the "belly band" and cover sheet that each have cut-apart images on the backs of them, which is where I got my butterflies and extra flowers to embellish my cards.


🎕🎕🎕🎕🎕🎕🎕🎕🎕🎕🎕🎕

For my first card I knew I wanted to play around with this month's Challenge Sketch, just to get my mojo flowing.


 I chose the blue, distressed wood planks print, a soft pink gingham and the teal planks with that gorgeous floral cluster. I trimmed the blue plank paper to 4x5 1/4 inches, the pink gingham to 1 3/4x3 7/8 inches, and the final pattern to  2 1/2x3 3 1/2 inches and matted them all on panels of white cardstock, 1/8 inch larger, to create a small border around the layers and give even more dimension. 


I fussy cut the 3 of the big butterflies that went with my color palate from the back of the paper pack's cover sheet and 1 tiny blue one, leaving a little white border to match the layers. Then I assembled the layers using Kaisercraft Double Sided Tape, and added my butterflies to the gingham panel with Woodware 1mm Foam Mounting Tape. Then I stamped my sentiment from the Kaisercraft Ubud Dreams stamp set using Versafine Clair Nocturne ink. Finally, I adhered the whole panel, centered on an Aqua, top folding, A2 card base.


I brought the outside into my my card by taking a 1/4 inch strip of the blue plank paper and adhering it to the left side of the panel, then I added one of the flags from the cut-apart sheet at the top, and a butterfly on top, then stamped a second sentiment from the same stamp set. As a final touch, I added a few Doodles Paper Playground: Sparkle Blends in Diamond, from the Birthstone Collection and some touches of sparkle pen on the butterfly wings and to accent details in the flowers. 


🎕🎕🎕🎕🎕🎕🎕🎕🎕🎕🎕🎕

For my second card, I chose to use the plank pattern with floral print with the coordinating blue gingham. I trimmed the floral print to 4x5 1/4 inches, and the gingham to 2x5 1/4 inches, matting them on white cardstock cut 1/8 inch larger than the patterned panels. For a little texture, I brought in a piece of Azalea mulberry paper, adding a line of water with a water brush and tearing it for a tattered, shabby effect. I mounted the floral panel on a pale pink, top folding, A2 card base before adhering the mulberry paper to the inside edge of the gingham panel and adhered it to the right side of the card front. 


Next, I cut out another of the banner flags and coordinating flowers from the cut-apart sheet, as well as two of the small, aqua butterflies and adhered them to the gingham panel. In the bottom left corner, I stamped another sentiment from the Ubud Dreams stamp set with Nocturne ink. Finally, added a scatter of sequins from the Diamond Sparkle Blend, and some sparkle pen to the flowers and butterflies, for just the right amount of shine. 


🎕🎕🎕🎕🎕🎕🎕🎕🎕🎕🎕🎕

For my final card, I decided to use one of the easter images I colored last month from the Your Next Stamp Sprinkles: Happy Easter stamp set. To go with it, I chose a distressed, pastel blue polka dot pattern and pale orange damask print trimmed to 4 1/8x5 1/4 and 2 1/2x5 1/8 inches, respectively--again mounting them on white cardstock cut 1/8 inch larger for added dimension. I adhered the polkadot panel to a top folding, white A2 card base and the orange strip, centered on top of that. 


To create a focal point, I selected a piece of Ivory Mulberry Paper, using a jar as a template to draw a line of water again with my water brush in a circular pattern before tearing it. This created a soft irregularity that I really like. I stamped the sentiment with Nocturne ink on a scrap of white cardstock and mounted it on a scrap of light blue, plank print paper. I adhered the sentiment strip to the card with 1mm Foam Tape. I added the bunny in his carrot car, also with 1mm foam tape and coated it with a generous amount of clear shimmer pen. Then adhered a decorated Easter egg directly to the card with wet glue. For a final little touch, I pulled some of the tiny, 2mm flowers out of the Easter Basket Sparkle Blend, adding just a few to the card for interest.


🎕🎕🎕🎕🎕🎕🎕🎕🎕🎕🎕🎕

I really love how simple and versatile this paper pack is, with just the right romantic, country feel to it. Its a little bit shabby, a little bit country and perfect for really beautiful cards. I hope you saw something that inspired you today, and I encourage you to check out the full line of Altair Art paper over at White Rose Crafts.

🎕🎕🎕🎕🎕🎕🎕🎕🎕🎕🎕🎕

Thanks for visiting the blog today, 
please come back soon!
Happy Crafting!

Friday, April 19, 2019

Five Fast Cards with the May "Barista Blend" Subscription Kit


Hey Friends!  It's EK from ekgorman designs and today I am popping into share the first part in my three part series where I create Five Fast Cards using White Rose Crafts May "Barista Blend" Five Fast Cards.

Not only did I blend up five cards using this fun coffee filled paper crafting kit, but I whipped up a splash of a bonus card.  What to see the bonus card, well I am only sharing it on my video so you will just have to watch to see!

If you missed the unboxing of the May "Barista Blend" Subscription Kit, click here to see all that is included in this fully stuffed kit!

To watch today's collection of cards this card in HD click here:


For more details on the first five cards, scroll down.


Card One
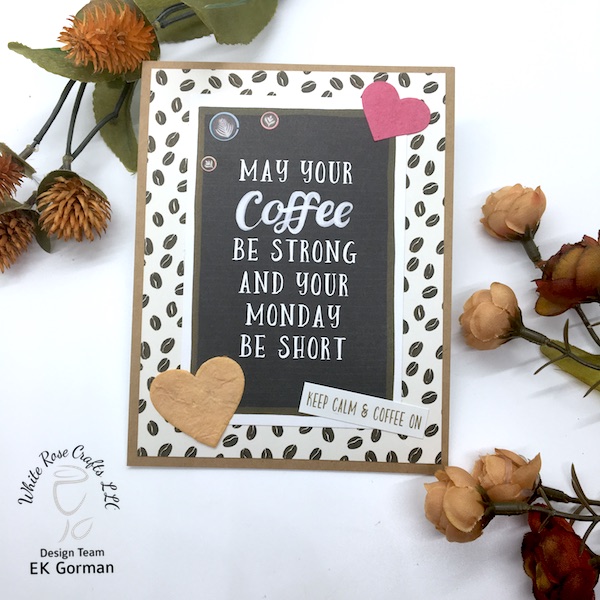
EK Gorman, White Rose Crafts May 5FC1 a
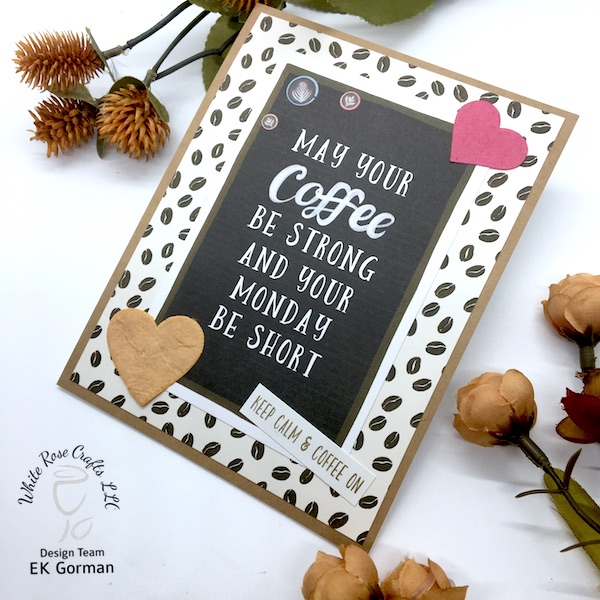
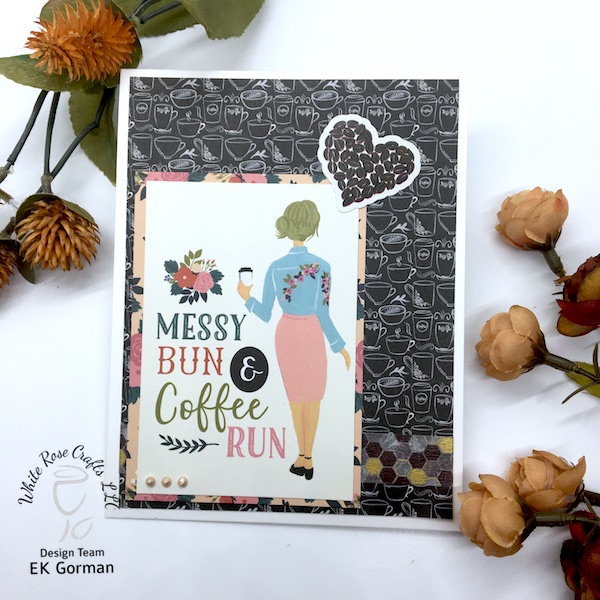
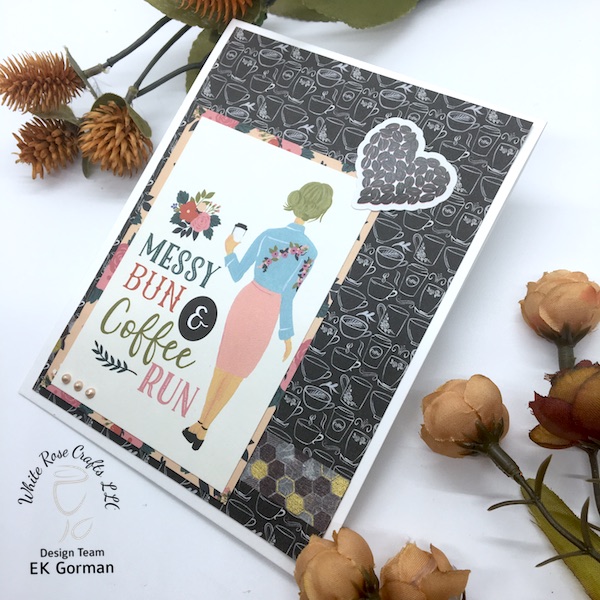
My first card features one of the printed papers from the kit, a piece of ephemera, two mulberry paper hearts, and four of the stickers.

EK Gorman, White Rose Crafts May 5FC1 b


Card Two
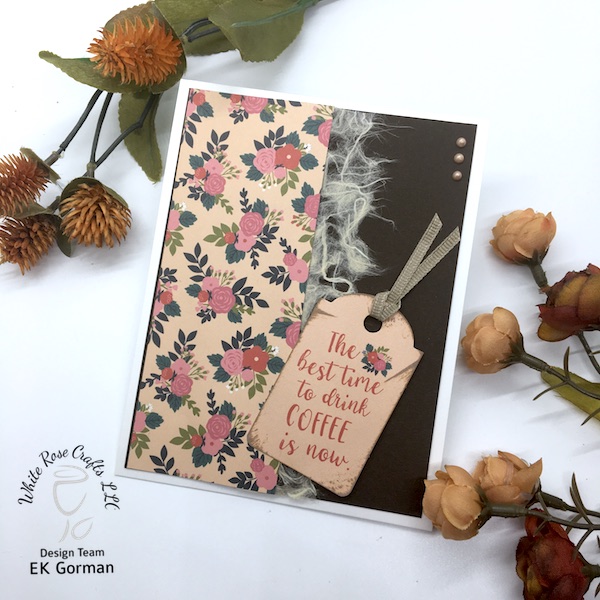
EK Gorman, White Rose Crafts May 5FC1 c
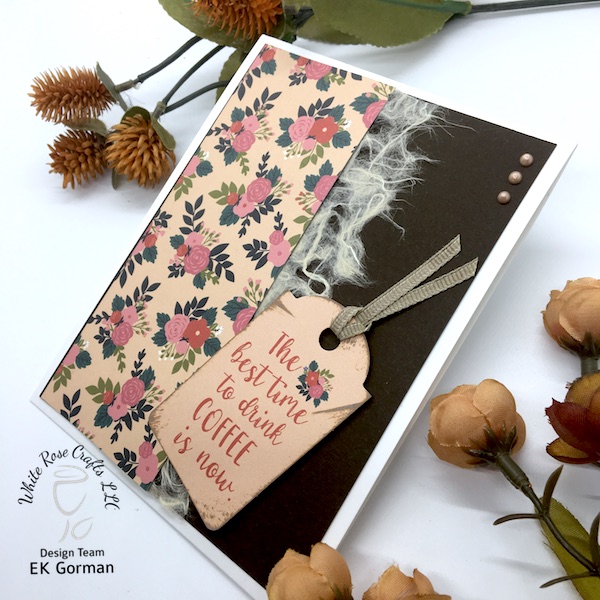
The second card in the series included some of the textured brown cardstock, some lace mulberry paper, some printed paper, a piece of tag ephemera and some of the nuvo drops included in the kit.

EK Gorman, White Rose Crafts May 5FC1 d

Card Three
EK Gorman, White Rose Crafts May 5FC1 e
My third card is super simple and includes two pieces of printed paper, some washi tape, a piece of ephemera, a coffee heart sticker and some nuvo drops.

EK Gorman, White Rose Crafts May 5FC1 f


Card Four

EK Gorman, White Rose Crafts May 5FC1 l
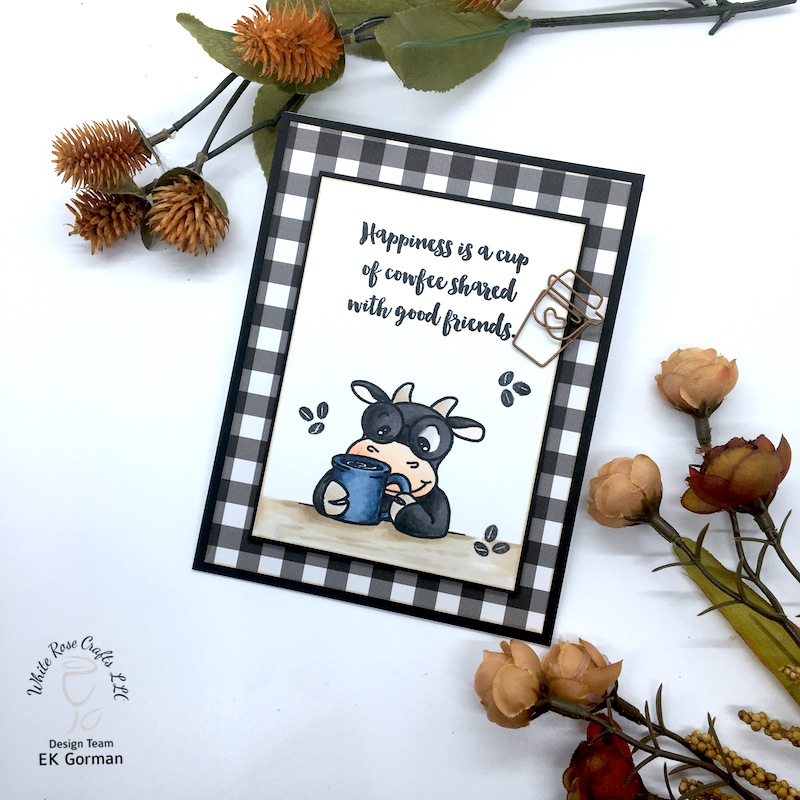
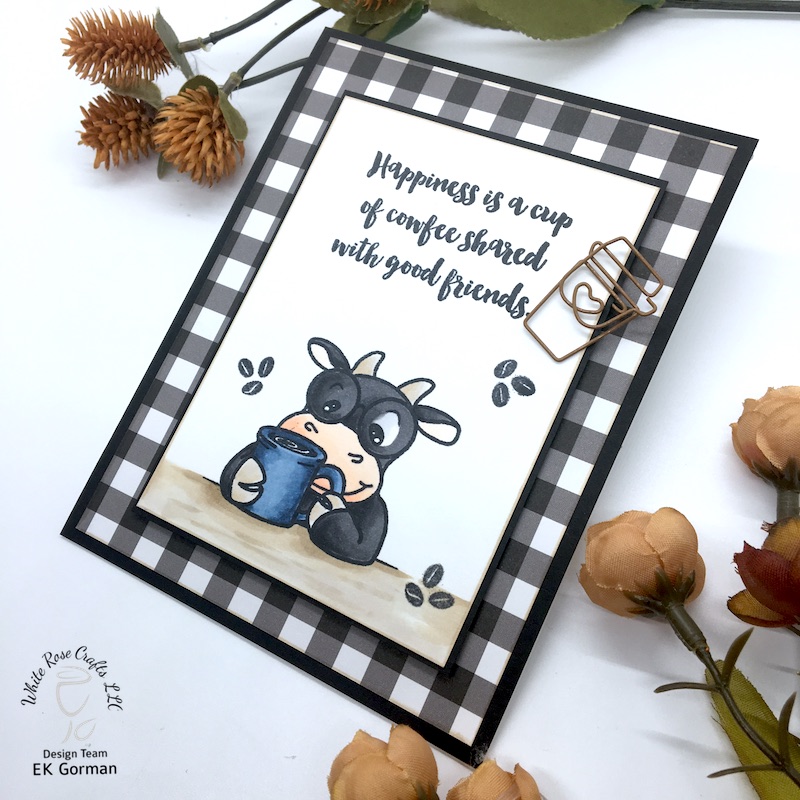
My fourth card, which is secretly my favorite, features stamping from the included stamp set, a piece of printed paper, and one of the coffee themed paperclips.

EK Gorman, White Rose Crafts May 5FC1 k


Card Five
EK Gorman, White Rose Crafts May 5FC1 g
My fifth, but not final card, features the front and back of one of the printed papers and stamping from the included stamp set.

EK Gorman, White Rose Crafts May 5FC1 h

To see the bonus card that I crafted using one of the included card frames from the kit, some stamping, a sticker and a piece of ephemera, make sure you watch my video over on the Youtube!

Let me know in the comments below, what your favorite card from this collection of Five Fast Cards is.  Until then, Happy Crafting.

Thursday, April 18, 2019

Happy Mother's Day with Guest Designer Annie Collins

Hello Crafty Friends - Annie here with a watercolor mother's day card.

Don't worry I promise you can do this. If you can stamp, heat emboss and add a bit of color then you can create this card.

So let's get started. This is the card I created.

First, you will need to stamp your image onto watercolor paper (unless you are using Zig or Arteza Real brush pens - I would use Strathmoore Bristol Smooth Cardstock). I cut my watercolor paper to a A2 size piece so that I easily turn it into a card later.

Now, I prep my paper for heat embossing with an anti-static tool. Then, I stamp my image using VersaMark ink and then cover the image with white embossing powder. Shake off the excess powder and heat set it with a heat tool until powder is melted and shiny.

Next, gather your watercolor supplies, I am using Distress ink mini cubes along with a water brush pen and a piece of plastic for a palette. 

I will be doing the wet on wet technique (this is when you wet your paper first with clean water then you just drop in a bit of watercolor in the same spot). The embossing creates little wells for the colors to gather so it's pretty easy. I start with a bit of yellow. If any of the color goes outside the white lines just use a paper towel or towel to clean it up. If any of the color remains then just add a bit of clean water and dab with a paper towel until the color is removed.

Now, I add a bit of orange color to the center of the flowers. The, I will blend the yellow and the orange together. Just like when you color with your markers or color pencils.

Next, repeat the process with the greens. I used 2 shades of green for the leaves and the dragonfly.

Then, I added a bit of light blue around the image for a bit of shadow. I did the blue a bit darker towards the bottom of both the flowers and the dragonfly. You are now done water-coloring your images. You can either set it aside to dry or use your heat tool to dry it. I set mine aside to dry since the images are small and I didn't use a lot of water. 

Now, while the images are drying I trimmed some pattern paper, cardstock and die cut part of my sentiment.  Then, I gathered all the components to create the card front panel.

I start with the base of my panel (notice I trimmed away some of the pattern paper- I was thinking of using it for my die cut word then I changed my mind). I adhere the pattern paper to the cardstock mat making sure to leave about an 1/4" all around. Next, I adhere the water-color panel.

Now, I take the die cut word - HAPPY - which I die cut 3x. once from specialty gold paper and 2x from white cardstock. I then do the glue and stack process to create a nice sturdy piece.

Next, I stamped the rest of the sentiment onto light green cardstock using the darker green Distress ink. I then cut it into a strip and did a decorative slant end on one side. I adhere the die cut word onto the card front panel and just tuck it into the Y from the word happy. Next, I adhered the card front panel onto my card base. For finishing, I added a few Sparkle Blends: Birthstone Collection May Emerald to the card.

Now, the card is complete! 

Supplies Used:
Ranger-Tim Holtz: Distress Inks: Spiced Marmalade, Mustard Seed, 
Hero Arts Stamp & Cut Happy Set
Recollection Brand Cardstock: White, Butter yellow & soft pink
* Inkadinkado's Beauty Stems is sold out - 
I link another set just in case you are interested

Thank you for stopping by the blog today! 

Barista Blend Kit: Alison's Take

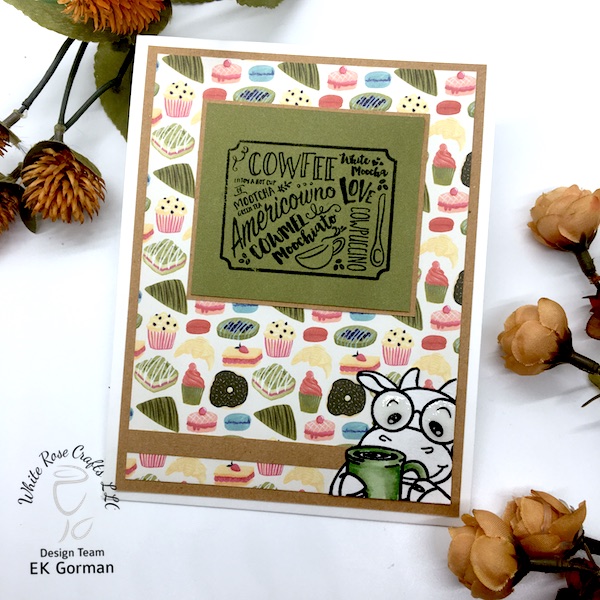
Greetings! It's Alison Heikkila. This week, the White Rose Crafts team is sharing projects using the May Subscription Kit called "Barista Blend." This is for all of you coffee lovers out there! There is a cute stamp set from Little Acres, fantastic papers from Echo Park, and exclusive Sparkle Blend from Doodles Paper Playground, and plenty more. The kit is currently available on pre-order, so if you want it, grab it while you can!
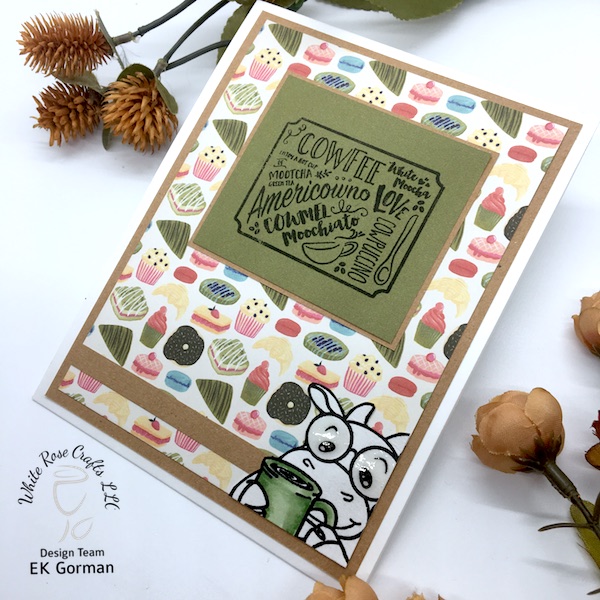
This cow is happily about to start a cup of "cowfee" and would like you to join her! I colored her with my Zig Clean Color Markers, and I added Nuvo Drops in Sea Breeze to her spectacles to make them look glassy. I inked the edges of the stamped panel with Tumbled Glass Distress Oxide.
I used a couple of pieces of patterned paper from the Echo Park "Coffee" collection to mat my image, and I backed it all with a cream card base from my own stash, which I inked with Vintage Photo Distress Oxide. I also added a few sequins from the older "But First, Coffee" Sparkle Blend. I do not have the Blend that comes in the Subscription Kit, but this was a perfect substitute. All the sequins was adhered with On Point Glue from Imagine.
My favorite thing about this kit is the paper from Echo Park. It has so many great colors, and wonderful patterns that go beyond the coffee theme. So don't think you can only use it for that! There are some really beautiful florals and more abstract patterns that I really love.
Please be sure to head over to the White Rose Crafts LLC Shop to snag your Subscription Box before it sells out. Thanks so much for stopping by. Have an inspiring day!

Monday, April 15, 2019

May "Barista Blend" Subscription Kit


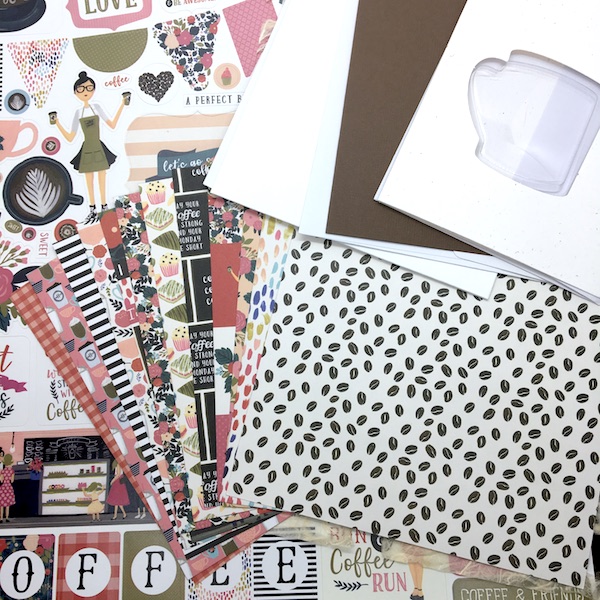
It is that time of Month again when we get to unveil our latest and greatest Subscription Kit.  This month's kit, the May "Barista Blend" Subscription Kit, features a collection of coffee themed craft supplies that surely going to fuel any coffee lovers heart.  

Our May "Barista Blend" Subscription Kit Features

Little Acres Creations stamp set - Moo Brew 

Echo Park 6 x 6 papers: Coffee 

Echo Park 12 x 12 Sticker Sheet: Coffee (to match papers)

Echo Park random selection of die-cut ephemera, tags and frames: Coffee (to match papers)

American Crafts 12 x 12 cardstock: Coffee 

Sheet of Craft Creations Mulberry Lace Paper in Cream

Doodles Paper Playground Sparkle Blend: Caffeinated (exclusive to this kit)

Papermania Craft Tape: Geometric Mocha Mocha

Doodlebug Designs "Doodle Pops" sticker pack: Coffee 

Doodlebug Cute Clips: Coffee Shop 

Nuvo Drops: Caramel Cream Mulberry Paper Hearts in pink, caramel and cream

Blank cards and envelopes from : American Crafts (A6 brown); Kaisercraft (square white); Jillilbean Soup ("Mug" Shaker card & insert)


Design Team Member EK has an unboxing video to share with you today.  Pop on over to see a closer look at all the different supplies included this month.

The May "Barista Blend" Subscription Kit is available now for preorder and will start shipping on May 1st.  These kits are limited edition, so once they are sold out, they are gone for good.  So make sure you get yours preordered today!!!


Sunday, April 14, 2019

Creative Creations- Altair Art Theme Projects!

Hey Rosie Fans!  Did you see all the amazing projects that the design team has come up with this week sharing how they played with Altair Art papers!


Just you cased you missed anything, we thought we would highlight some of projects you just can't miss!


EK used the Flower Harmony Altair Art Paper pack to not only create this beautiful card, but to play along with this month's sketch challenge as well!  Make sure to pop over to EK's blog to check out the other five cards she created in this collection.


Kim created this stunning dimensional tag using the Altair Art Butterflies & Flowers and Ever Dream ephemera sheets.


Anna-Marie
Anna-Marie created this lovely dimensional card using the Ever Dream paper pack collection.  We just love how the whole card looks like it as been watercolored!!!


We are blown away by this scrapbook page Alison created using the Ever Dream and Ephemera Sheet paper pack.  We honestly don't know which is more beautiful, Alison's layout or her daughter....who are we kidding her daughter of course wins!


Amber
Amber created this bright spring cad using the Signs of Love paper pack from Altair Art.


Finally, EK created a second collection of cards using the Flower Harmony  paper pack.  Make sure to go over and check out the other three cards in this soft yet stunning collection of cards.


No only have we seen the amazing projects create by our design team...we've seen some really amazing projects created by YOU!


Meghan Kennihan
We Spotted this super fun and bright spring themed card created by Meghan using the Your Next Stamps Hey Chickie stamp set.  Meghan also created this fun card to play along with our April Sketch Challenge!

Annie Collins
We spotted this stunning card created by Annie using the newly released Ocean View Sparkle Blend sequin mix from Doodle's Paper Playground!

Want to be featured in next week's Creative Creations!  Simply load your projects up into the White Rose Crafts Facebook Gallery.  We can't wait to see what you create.