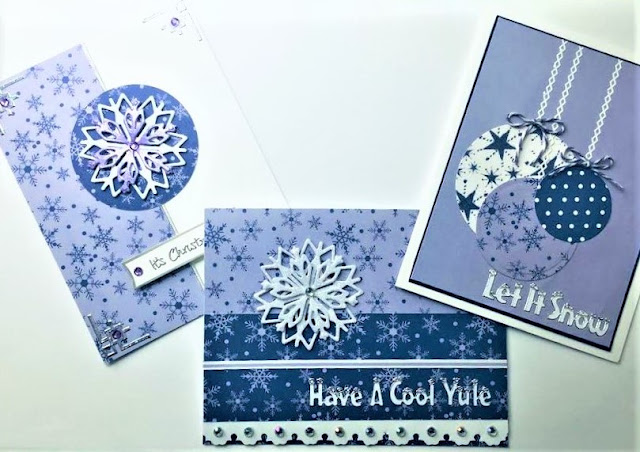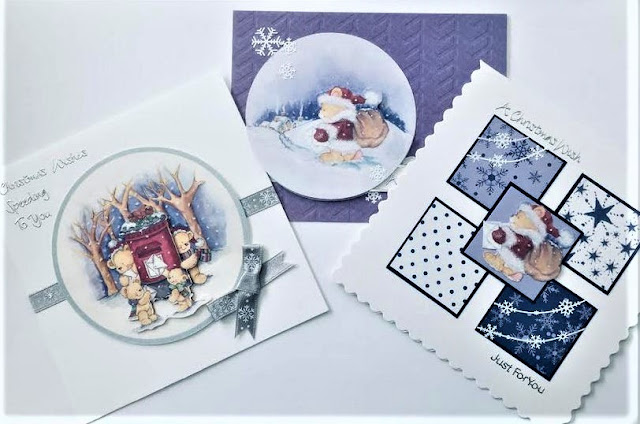
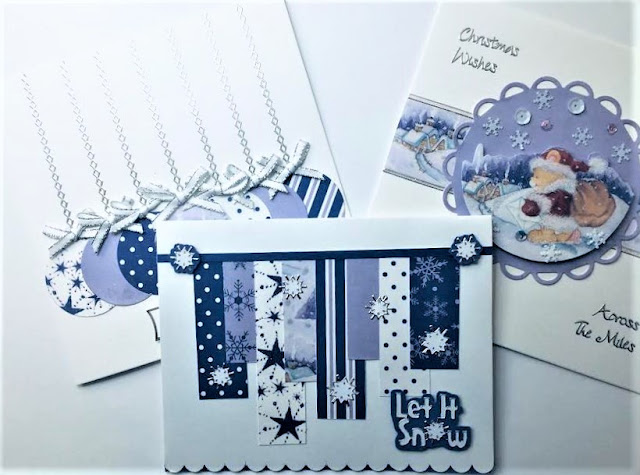
Showing posts with label Christmas card. Show all posts

Wednesday, November 17, 2021

Quick and Easy Christmas Decoupage Cards


Hi everyone. Kay here - owner at White Rose Crafts - dropping by to show you the Dovecraft Christmas Decoupage and Paper Pads, which truly are like a "mini kits". 


I decided to have a play with one of these $5.99 pads, to see how many cards I could get out of it. Each pad contains four 8x8 inch glittered die-cut decoupage sheets in two designs, four 8x8 inch glittered sheets in two designs, four 8x8 inch backing papers in two designs and four 8x8 inch double-sided sheets in two designs. 
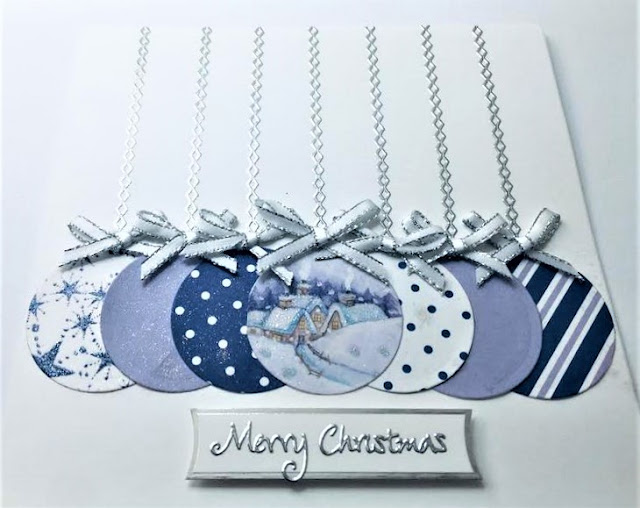

We have four different pads, and I chose the purple-themed "Brown Bears" pad, partly because I love purple, and partly because it's not one of the traditional Christmas colors , and I do like things that are a little bit different. 
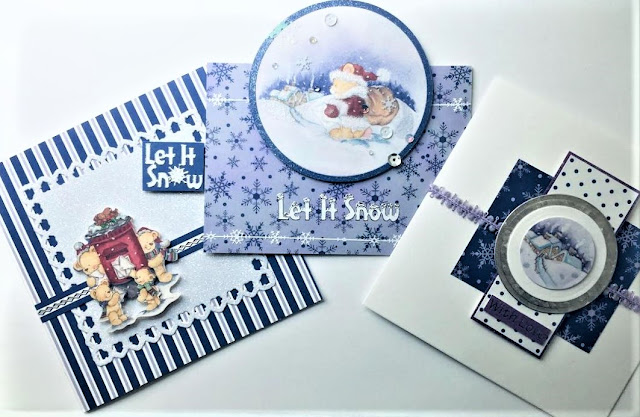


I also thought the little teddy bears were super cute.
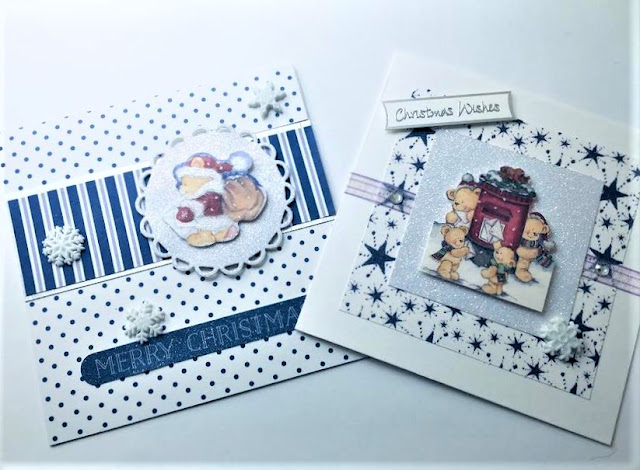


I decided to keep the cards fast and simple, because Christmas is one of those times when we do send cards "in bulk", so being able to put a pretty card together quickly is definitely an advantage, so I avoided complicated or fancy techniques, and just let the papers speak for themselves.  


I was also focusing on value for money, so I haven't used a ton of extra items - mostly just odds and ends that I had in my stash - plus a couple of Peel-Off Stickers sheets from Craft Creations for the sentiments. I chose the silver on white version of "Let It Snow" - I LOVE the snowball splotches! - and the silver version of the "Across The Miles" sheet, which I really like because my family are a long way away, and I like the idea of sending them loving wishes "across the miles".


I'm here to tell you that I have only used HALF of the pad, and I've already made TWENTY Christmas cards out of it, and I've still got exactly half of the whole sheets left, plus quite a few usable scraps. 
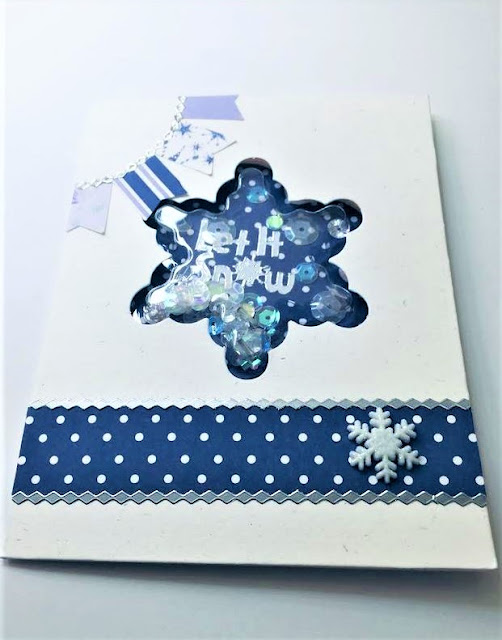

I'm amazed! I hope you like them. Thanks for reading, and...


Happy Crafting from us all at White Rose Crafts!

Thursday, December 24, 2020

Angels Descending

Well, there is just one more sleep till Christmas Day, so it seemed only fitting for my project today to feature an Angel who could and would watch over a new born king. I thought this angel from Woodware UK Angel Voices stamp set was perfect to watch over a sleeping child.

I started by stamping out the Angel Voices main image onto some white cardstock with Memento Dye Ink in Tuxedo Black.

I colored the images with Nuvo Creative Pens. I used a combination of Depth & Shadow, Fair Skin Tones, Hazy Mauves, Emerald Seas, Rich Reds, and Pebble Beach. I then fussy cut out the image.

To construct the card frame, I pulled a collection of papers from the Wild Rose Studio Antique Library paper pack. I then trimmed them up to different sizes. Adhere the papers to an A2 card frame.

I then stamped a sentiment from the Angel Voices stamp set onto the card frame in both brown and black ink.

I stamped background images onto the card frame using images from the Angel Voices stamp set in both black and brown ink.

Finally I added drops to the card frame from both Dovecraft Glitter Glue in Blossom and Nuvo Craft Drops in Antique Rose.

As we wait till the last sleep before Christmas, I wish upon you Peace & Love, blessing of healing, and of course a Merry Christmas.

What is your Christmas Wish this year? Let me know in the comments below. Until then, happy crafting!

Wednesday, December 9, 2020

Merry Christmas Cards featuring the A Merry Little Christmas Kit

 Hello Crafty Friends - I am here with 2 cards using the A Merry Little Christmas Kit.

Card #1 - Merry Christmas


I gathered the supplies from the kit. I have the Decoupage paper, the specialty gold cardstock, the puffy Reindeer trim and the red and green pearl stickers. From my stash I have white card base, White, Green and Red cardstock and adhesive.

I start by inserting a piece of white cardstock into my Xyron Creative Station Lite. I will use this for the decoupage paper. I adhere the decoupage paper to the white cardstock it measured 4"x51/4".

Next I adhere a strip of green cardstock to the bottom of the card panel. It measures 1"x4". I then adhere the reindeer trim on the seam of the green cardstock. Next I die cut the Merry Christmas from the Gold specialty paper and adhere it below the reindeer in the center.  I then adhere one of the red mini pearls to the nose of the first reindeer. Making him into Rudolph.
 

Now, the card is not complete!


Supplies Used:
Memory Box Die: Merry Christmas
Xyron Creative Station Lite
Recollections Brand 110# Cardstock: White
Recollections Brand 80# Cardstock: Green and Red


Card #2 Merry Christmas


I start by gathering my supplies. I stamped the Christmas tree 3 times onto white cardstock. I also trimmed the green cardstock a 1/4" smaller than my card base. I trimmed the pattern paper to 3" X 4".


I adhered the Green cardstock onto the card base. 
Then, I adhered the pattern paper onto the green cardstock. 
Next, I put a piece of Gold Glitter washi tape at the base of the pattern paper.

Next, I die cut the tree panel with the stitched rectangle. 
I stamped the sentiment and fussy cut it out.
 I foam mounted both the tree panel and sentiment to the card.

Finally, I added some Nuvo drops to the trees and snowflakes.

Now the card is complete!
Supplies Used:
Lawn Fawn Brand Die: Stitched Rectangles
Recollections Brand 110# Cardstock: White
Recollections Brand 80# Cardstock: Green and white
Recollections Brand Washi Tape: Gold Glitter

Thank you for stopping by the blog. I hope you found some inspiration!

Be sure to tag us White Rose Crafts LLC on social media 
if you create a project with products or kits purchased on the 


White Rose Crafts Design Team Member Annie Collins 
Blog: https://littlewingscreates.blogspot.com/ IG: @anniec09

Wednesday, November 13, 2019

Merry Christmas Card

Hello Crafty Friends - Annie here - this week we're featuring the Wild Rose Studio Brand of products on the Wild Rose Crafts LLC Blog and Store.

See the source image

Here's the card I created. It's an action wobble card.


Let's get started!

I stamped and colored the image. I then fussy cut it out. I trimmed my pattern paper and cardstock. I trimmed the sentiment from one of the pattern papers. I die cut a piece of Lawn Fawn Sparkle cardstock Pixie Dust using a Lawn Fawn Hillside border die. 

Next, I adhered the sparkle paper to bottom of the image and trimmed off the extra. Then, I adhered the boughs and berries paper to the white cardstock panel. Making sure to leave a 1/8" border around the panel. Then, I adhered another white cardstock onto the pattern paper. leaving a border around the panel. I then adhered the light blue pattern paper on top of the white cardstock panel.
  
Next, I turned over the image and placed the action wobble onto the back. The action wobbler has its 
own adhesive - just peel and stick.
 

I then placed the image in the center of the card front panel.

Next, I inked the edges of the sentiment strip with a bit of Distress Oxide Ink: Broken China. I then adhered the sentiment strip with some foam adhesive to the card front panel. I added some white details to the image and I also added some sparkle details to Santa's hat and beard. I then adhered the card front panel to the card base.
 

Now the card is complete!
I didn't add any extra embellishments to the card because I felt I didn't really need it. Also, I didn't want to distract from the Dancing Stana and Jolly Reindeer.
Materials Used:
Tsukineko Memento Ink: Tuxedo Black
Sakura Gelly Roll Pens: White and Sparkle
Recollections Brand 110 lb Cardstock: White
Spectrum Noir Markers: RB1, RB2, RB3, RB4, AG2, CT4, GY2

Thank you for stopping by the blog today - I hope you found some inspiration!

Be sure to tag us White Rose Crafts LLC on social media 
if you create a project with products or kits purchased on the